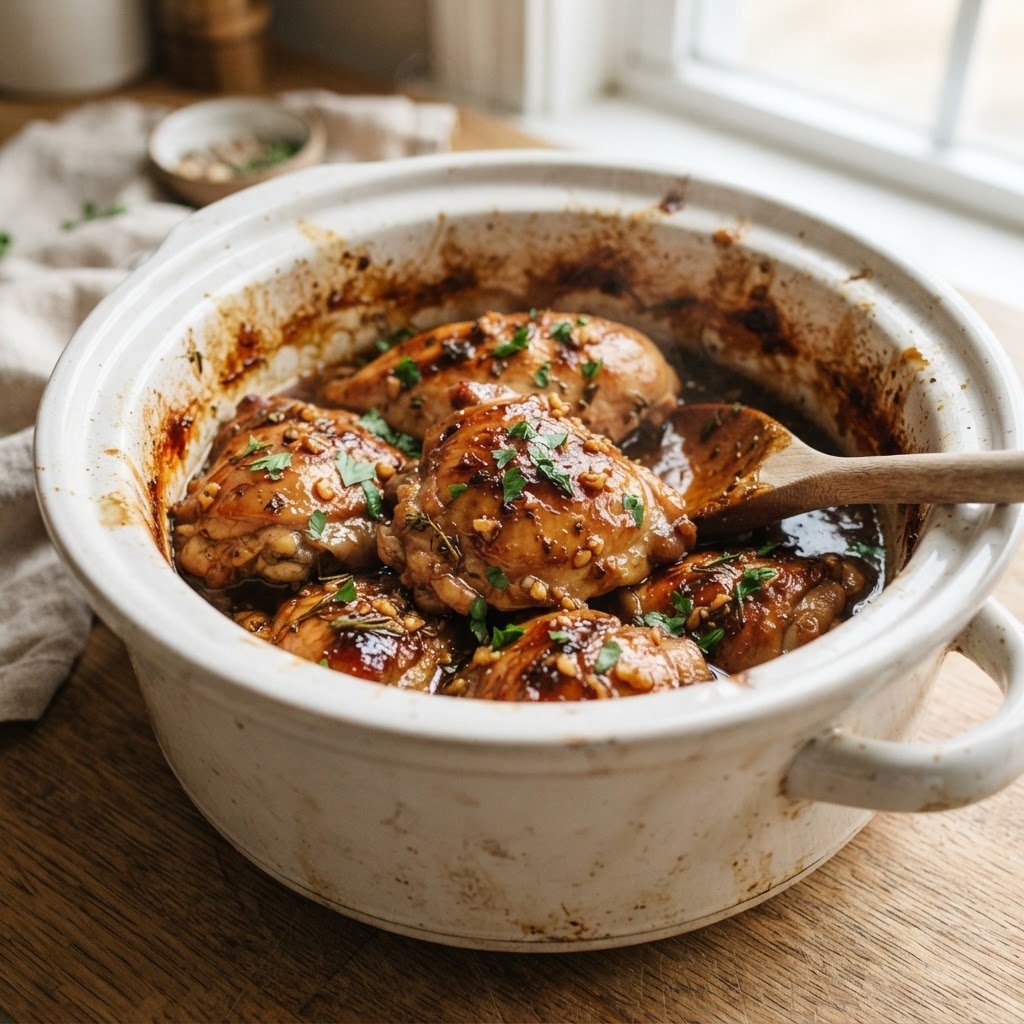
Slow Cooker Chicken with Brown Sugar and Garlic is a savory, caramelized dinner made by slow-cooking 2 lbs of boneless, skinless chicken thighs in a mixture of soy sauce, apple cider vinegar, brown sugar, and minced garlic for 6 hours on low heat until tender and glazed.
The Secret to Perfect Slow Cooker Chicken
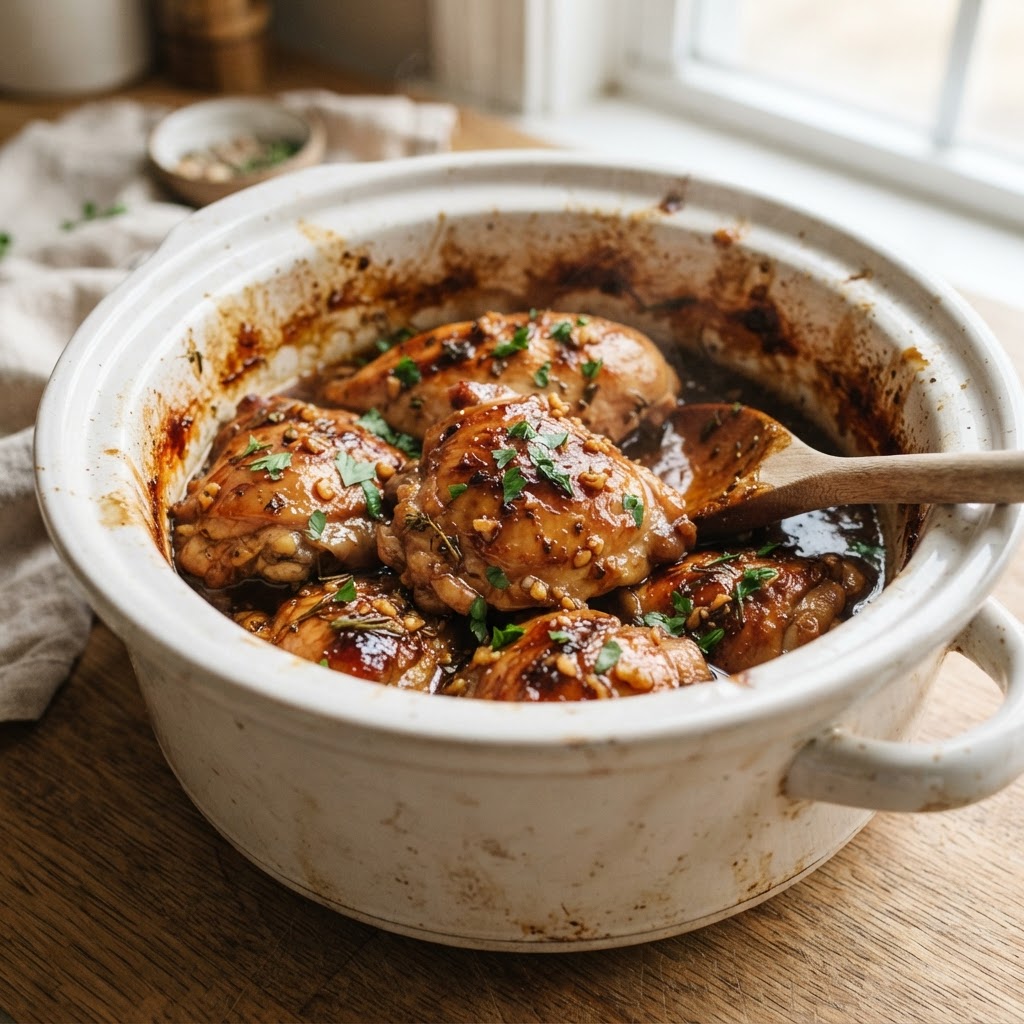
Achieving tender, melt-in-your-mouth chicken in a slow cooker relies on maintaining consistent internal temperature and moisture balance throughout the cooking cycle. To avoid the common pitfall of stringy or dry meat, always use chicken thighs rather than breasts for this specific recipe, as the higher fat content renders perfectly over long periods of low heat. When cooking, you must ensure at least 50% of the meat is submerged in liquid to prevent the top layer from dehydrating. While many cooks are tempted to lift the lid to check progress, each opening releases significant heat and steam, which can add 20 to 30 minutes to the total cooking time and disrupt the slow-braising process. By keeping the lid sealed for the full 6-hour duration, you trap the aromatics of the garlic and vinegar, allowing them to penetrate deep into the protein fibers. For those who prioritize texture, patting the chicken dry before it enters the crockpot prevents the sauce from becoming watered down. Following these precise thermal management techniques ensures a consistent, restaurant-quality result that maintains structural integrity even after hours of heating.
Step-by-Step Recipe Instructions
Ingredients You’ll Need
- 2 lbs boneless skinless chicken thighs
- 1 cup packed dark brown sugar
- 1/2 cup low-sodium soy sauce
- 1/3 cup apple cider vinegar
- 6 cloves garlic, minced
- 1 tablespoon toasted sesame oil
- 1 teaspoon red pepper flakes
- 2 tablespoons cornstarch
- 2 tablespoons cold water
- 2 stalks green onions, thinly sliced
Why Slow Cooking Works for Poultry
Slow cooking utilizes the enzymatic breakdown of collagen in meat fibers, which is why it remains the superior method for creating tender poultry from tougher cuts. Unlike rapid high-heat cooking, which can seize muscle fibers and lead to toughness, the slow cooker maintains a steady range between 180°F and 200°F. This specific temperature band is crucial for converting connective tissue into gelatin, providing a silky mouthfeel that cannot be replicated in a standard oven. Beyond texture, the flavor infusion efficiency is unmatched because the liquid stays in constant contact with the chicken, forcing the soy-sugar-vinegar marinade into the meat. This method is highly versatile, allowing for regional adaptations like Mediterranean-inspired herb profiles or Asian-style glazes. By utilizing a 6-to-8-hour window, you gain a massive time-efficiency advantage, as the machine requires zero active supervision once the ingredients are set. This makes it an essential tool for busy families who refuse to compromise on nutrition or taste, as you can easily integrate nutrient-dense aromatics like fresh garlic, ginger, and peppers without risking their nutritional potency through charring or over-frying.
Preparing Your Brown Sugar Garlic Chicken
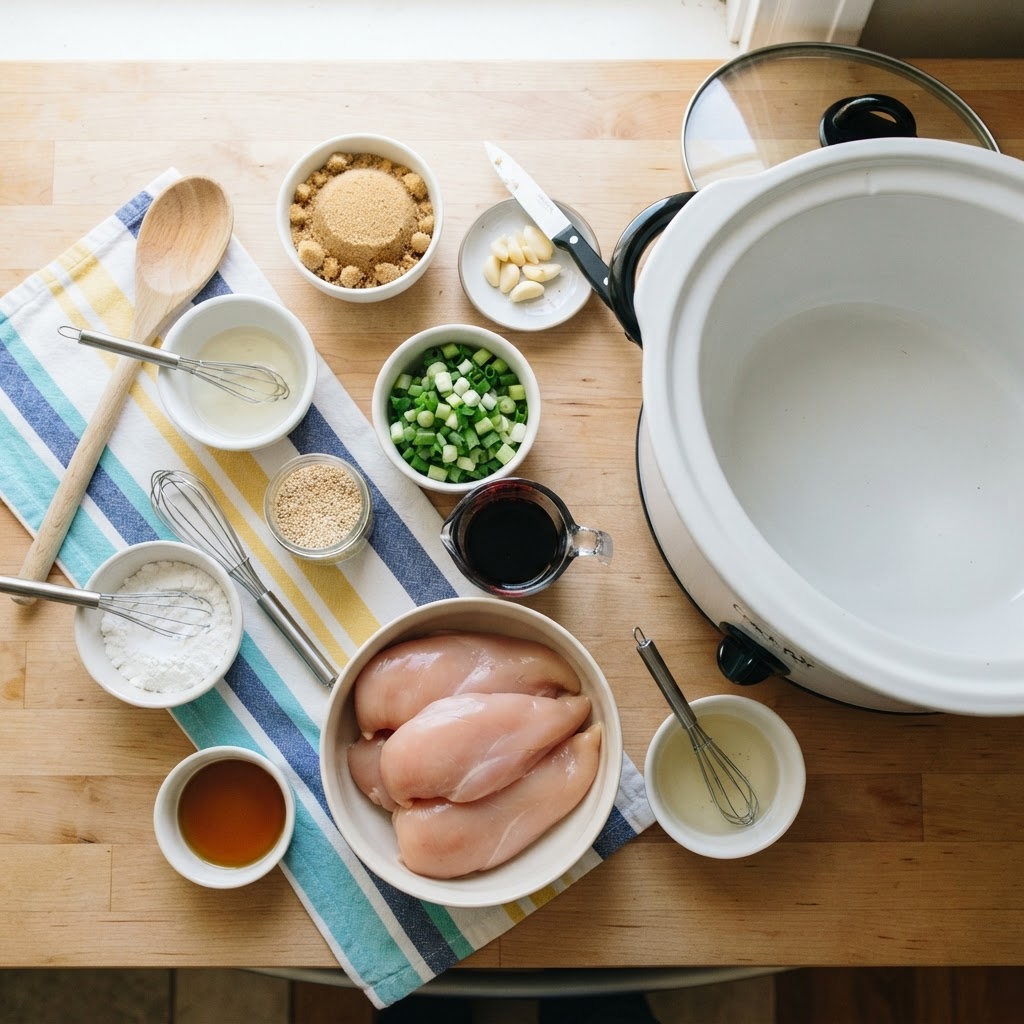
Successful preparation of this dish requires an orderly assembly strategy that prioritizes ingredient layering to avoid burning and ensure uniform cooking. Always arrange your 2 lbs of chicken thighs in a single, overlapping layer at the bottom of the slow cooker to maximize exposure to the heating elements at the base. Before adding the liquid, ensure that the chicken is not frozen, as this can delay reaching the safety threshold of 165°F and cause uneven texture. If you choose to modify this recipe, consider the impact on hydration; for example, using a thick BBQ base rather than a soy-based sauce may require an additional quarter cup of liquid to prevent scorching. For those managing specific dietary requirements, swapping the brown sugar for coconut sugar or a monk fruit alternative will produce a similar caramelization profile without the glycemic spike. This base recipe serves as a versatile “mother sauce” that can be easily customized. By maintaining the base ratio of 1/2 cup soy sauce to 1/3 cup acid, you ensure the dish remains balanced regardless of the primary protein or vegetable additions you incorporate, making it a reliable staple for consistent weekly meal prep.
Managing Prep Time and Ingredients
Efficient meal prep relies on the “dump-and-go” capability of the slow cooker, which reduces active labor to less than 10 minutes of total time. To optimize this, prepare your sauce mixture in a large jar the night before and store it in the refrigerator; this allows the flavors, particularly the garlic and vinegar, to mellow and bloom before the cooking begins. When calculating your weekly prep, remember that slow cooker meals often taste better the second day after the flavors have had time to settle, making this an ideal dish for batch cooking. Compared to stovetop methods which require constant monitoring of liquid evaporation and heat levels, the crockpot maintains a closed loop, preserving nearly all the liquid volume and reducing the chance of recipe failure. Below is a comparison of cooking methods for this specific brown sugar garlic recipe to illustrate why the slow cooker excels for busy schedules.
Versatility in Your Crockpot
Your slow cooker is a multi-functional powerhouse that handles everything from long-braised proteins to complex vegetable stews. While this brown sugar garlic recipe is a standout, the vessel allows for significant pivots in culinary focus, such as transitioning to a Chicken Cacciatore or a Zesty Lemon-Garlic profile with minimal recipe modification. The key to mastering versatility lies in understanding that you can swap your protein and aromatics while keeping the baseline cooking time of 6 hours on low as a safety standard for most boneless chicken cuts. Whether you are hosting a small dinner gathering or simply organizing your weekday lunches, the crockpot allows you to scale ingredients linearly without complex recalculations. Many professional chefs use the “base + finish” method, where the primary cooking happens in the slow cooker, and the final flavor notes—such as fresh herbs, toasted sesame seeds, or a drizzle of citrus—are added just seconds before serving. This dual-stage approach preserves the vibrancy of fresh ingredients while benefiting from the deep, slow-cooked savory profile of the main dish. Keep a variety of sauces on hand to instantly transform your basic slow cooker chicken into new, exciting flavor experiences for every night of the week.
Enhancing the Flavor Profile
Optimizing flavor in a slow cooker involves using high-quality aromatics and understanding the timing of flavor development. For maximum impact, choose fresh, unpeeled garlic cloves and crush them manually rather than using pre-minced or powdered alternatives, as the natural oils are much more potent when freshly released. When balancing the sweetness of the brown sugar, consider the acidity of the apple cider vinegar; if the final result is too sugary for your preference, a teaspoon of grated fresh ginger can cut through the sweetness while adding a sharp, spicy contrast. If you want to achieve a glossy, restaurant-style glaze, the final step of stirring in a cornstarch slurry and leaving the lid off for 10 minutes is non-negotiable. This process triggers the Maillard reaction to a limited degree even at lower temperatures, concentrating the sugars into a rich, syrupy consistency that clings to the chicken pieces. For an elevated experience, consider finishing the dish with a quick sprinkle of toasted sesame seeds or fresh scallions to add both texture and a bright aesthetic finish that mimics high-end casual dining presentations.
Flavor Boosting Tips for Crockpot Cooking
Use Fresh Aromatics
Always prioritize fresh ginger and fresh garlic instead of dehydrated powders, as they contain higher concentrations of volatile oils that survive the long cook time, providing a deeper, more authentic flavor profile to your finished meal.
The Searing Step
For even more depth, sear your meat in a hot pan with a small amount of oil for 60 seconds per side before adding it to the crockpot. This simple step creates a base of roasted flavor that compounds throughout the 6-hour cook, resulting in a more complex, professional-grade sauce base.
Integrating Healthy Sides
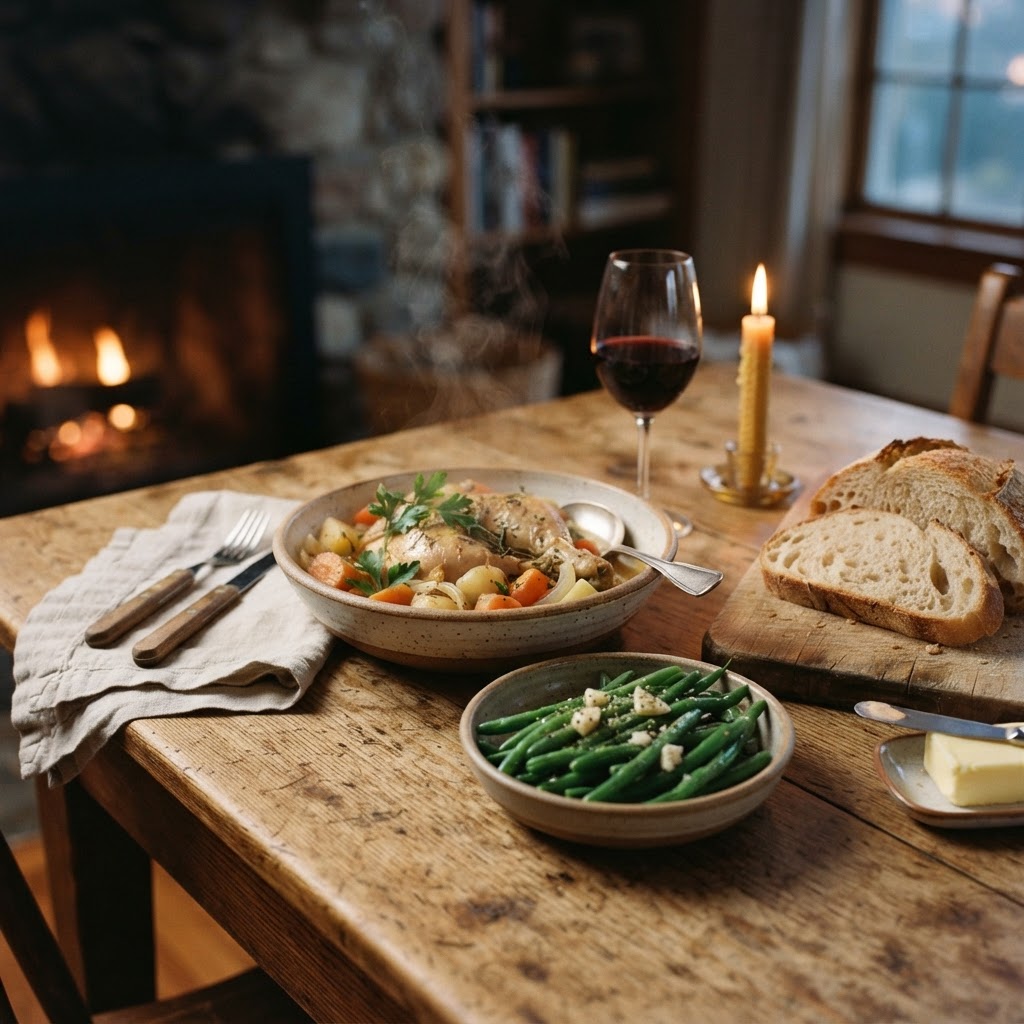
Serving your slow cooker chicken with nutrient-dense sides turns a simple protein into a comprehensive, balanced meal that supports metabolic health. Steam-in-bag broccoli or roasted asparagus are excellent additions, as their bitterness balances the sweetness of the brown sugar glaze perfectly. Since the chicken requires no attention, use this window to prepare a high-fiber grain like quinoa or brown rice, which serves as an ideal base for absorbing the excess sauce. By pairing this dish with cruciferous vegetables, you increase the overall volume and satiety of the meal without significantly increasing the caloric load, creating a “volume eating” strategy that is excellent for weight management. Additionally, adding a cold component, such as a crisp cucumber salad with a light rice vinegar dressing, provides a refreshing temperature contrast that makes the overall dining experience feel significantly more refined.
FAQ
Q: Can I use frozen chicken in the crockpot?
It is generally recommended to thaw chicken before placing it in a slow cooker to ensure the meat reaches a safe internal temperature of 165°F as quickly as possible. Cooking from frozen can keep the meat in the “danger zone” (40°F-140°F) for too long, posing a safety risk.
Q: How long should I cook chicken in a slow cooker?
Most chicken recipes require 3 to 4 hours on high or 6 to 8 hours on low, depending on the thickness of the meat. Always verify the chicken has reached an internal temperature of 165°F using a reliable meat thermometer before serving for the best results.
Q: Can I make this recipe for two people?
Absolutely, as slow cooker chicken recipes are easily scalable by adjusting the weight of the protein and the volume of the sauce ingredients. Simply reduce the amount of chicken thighs while keeping the ratio of sugar to soy sauce constant, and monitor the cook time slightly earlier.
Q: How do I prevent the chicken from drying out?
To keep chicken juicy, ensure there is enough liquid to submerge the meat and never lift the lid to peek during the first 5 hours of cooking. Maintaining the internal moisture and heat is the single most important factor in preventing the protein fibers from tightening and drying out.